Reproducing Iconic Parts by Hugh Coltharp and Daniel Wright |
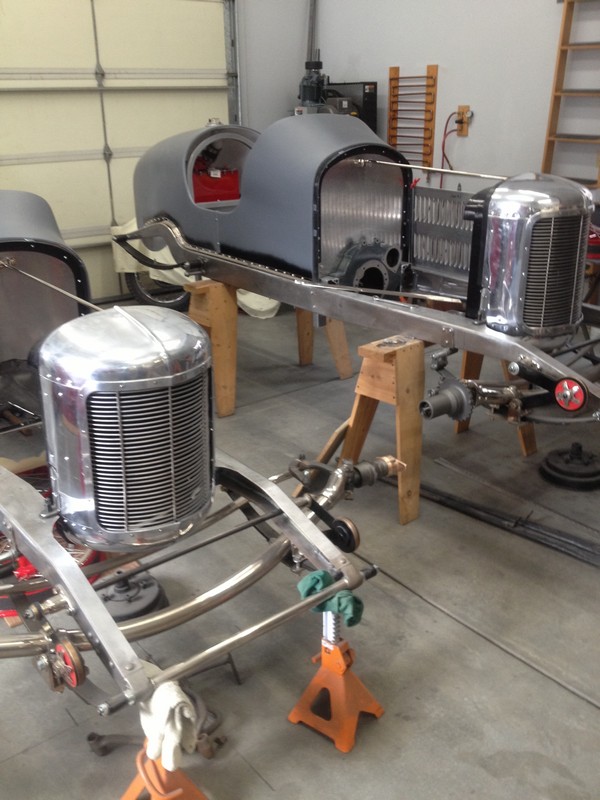
When you live in Salt Lake City, the Bonneville Salt Flats are your “Local Track”. With the Salt Flats surface currently in poor condition due to wet conditions, there has been no Speedweek for two years. The lack of Bonneville racing left a couple of old school Bonneville racers, Hugh Coltharp and Jim Beck, a bit bored. These guys are lifelong car guys and master fabricators. Since boys will be boys, this boredom started them down the path of scratch building a pair of Replica 1920’s Miller Racing cars. Miller style 122 “Big Cars” often referred to as Four Spring Cars. These beautifully sculpted cars dominated Indianapolis Speedway in the late 1920’s and early 1930’s.
Pretty sweet build in progress here. These guys can fabricate with the best. Scrounging and rehabilitating old car parts is a primary activity
for builders of throwback motorcars. These guys are good at it. They
routinely make old original parts serviceable, it’s all part
of the process. Weld things up, machine them down, file a little here,
polish a bit there and an old component, previously worn beyond use
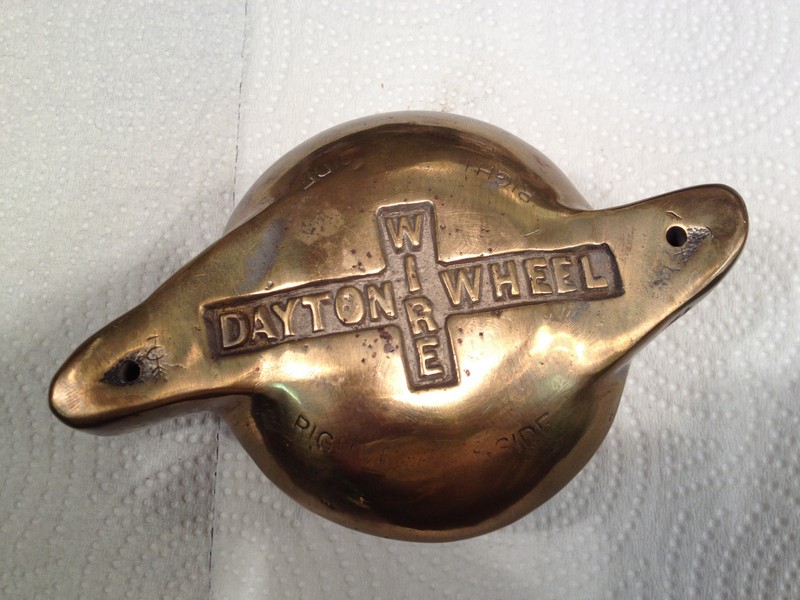
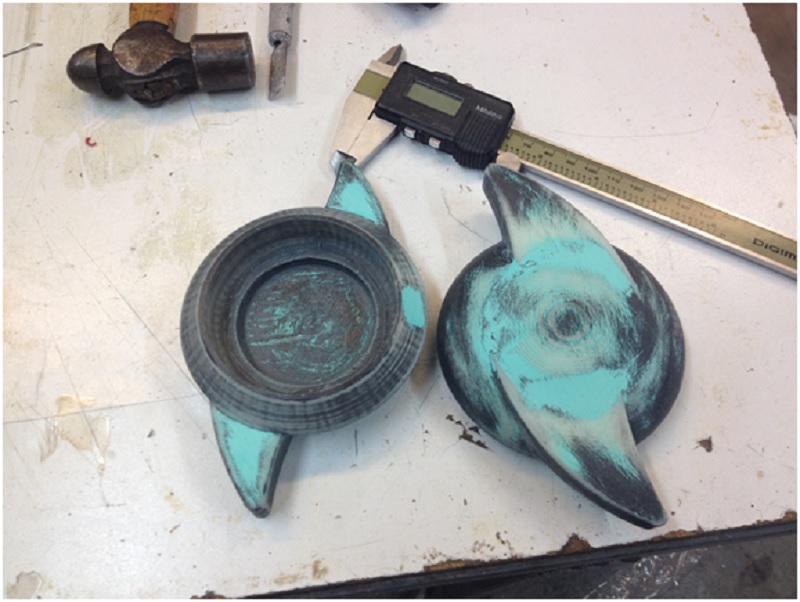
becomes serviceable again. An original piece. 1920's era Bronze Knockoff
style wheel nut. This brief video shows "Why" these parts suffer over the
years.
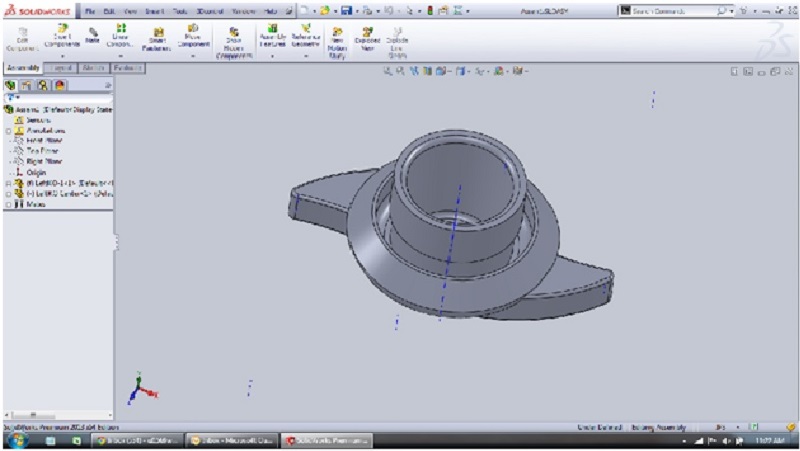
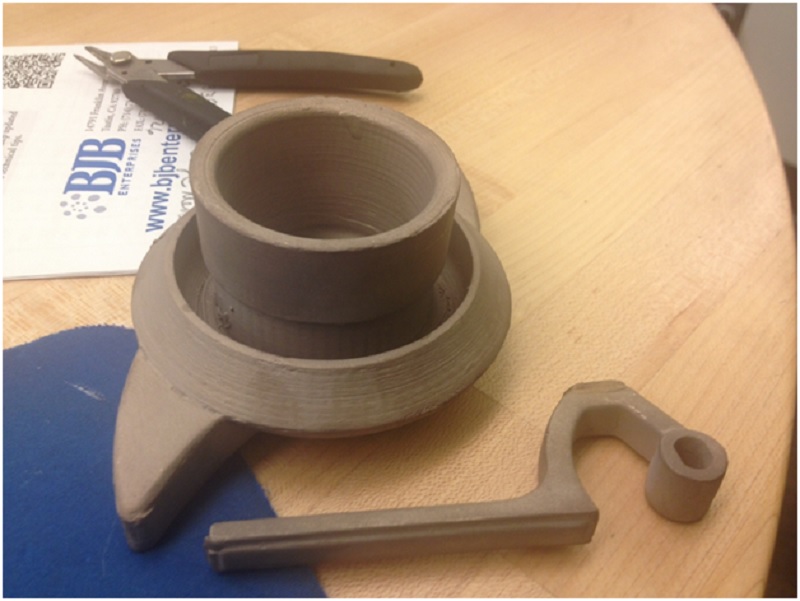
The 3% upsized CAD parts were then sent to a 3-D printing service to be printed. We used the printing service (available to the general public) at the University of Utah’s Marriott Library. 3-D printing the set of three master parts in ABS plastic cost about $15.00 total.
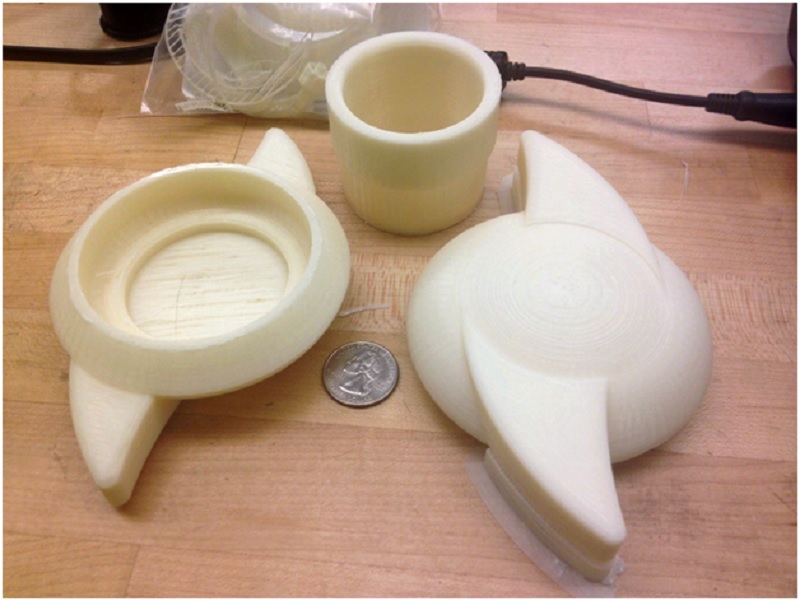
Raw 3-D Printed ABS Plastic Master Parts
3-D Printed Master Parts after some prep work Once the Master Parts were prepared they were arranged to allow us to cast a Silicone Mold in which we could pour molten wax to create exact copies.
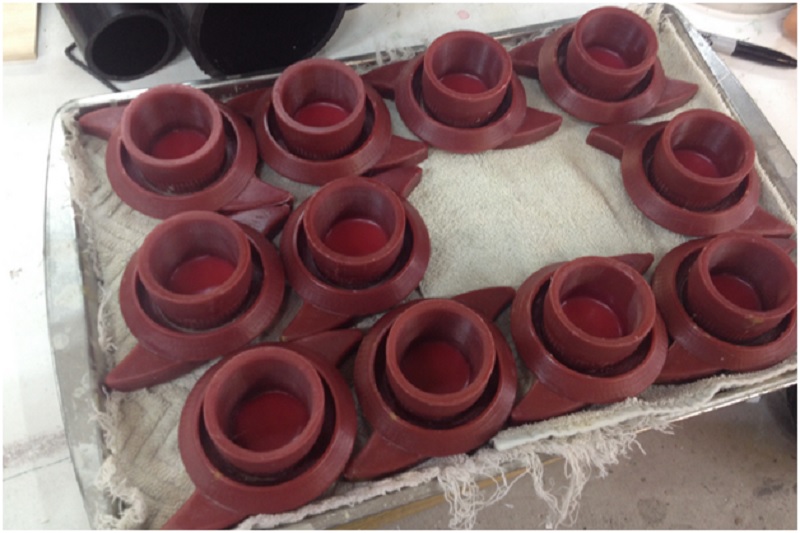
Cast wax replicas, 3% upsized, assembled and ready to go to the Foundry The foundry uses the Lost Wax Process (also called Investment Casting) to “invest” the wax in a ceramic shell. The wax is repeatedly dipped into liquid ceramic slurry and allowed to air dry between each application. The ideal shell thickness is ¼” to 3/8” When the air dried ceramic shell is kiln fired to harden it, the wax melts and burns out and is “lost”, thus the name of the process. The hot ceramic shell is then poured full of molten metal, in this case, silicone bronze. This process creates an exact replica of the shape of the wax. High quality waxes are essential to creating good metal parts. Flaws in the waxes will remain as flaws in the cast metal parts.
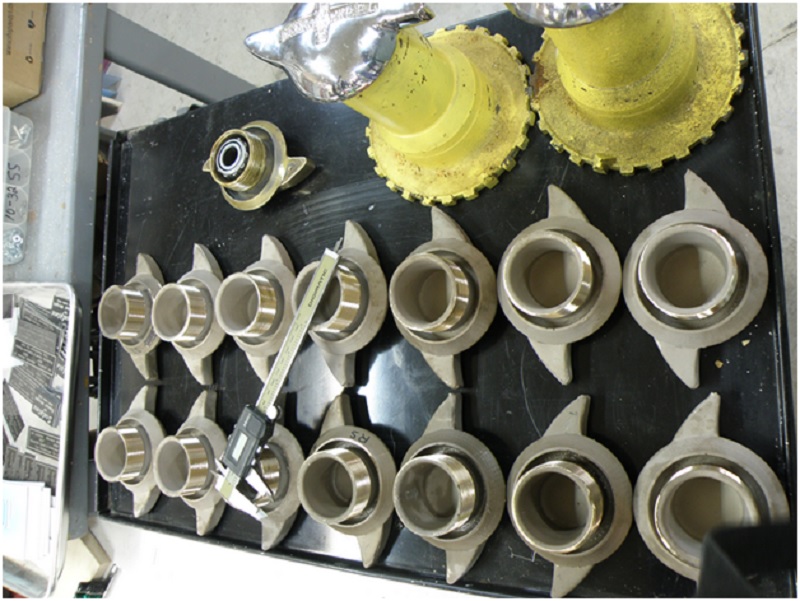
Bronze castings fresh from the foundry Once we had our castings back from the foundry, we still had some
finish work to do. We needed to machine 10 threads per inch threads
on the outside of the 2.25” stub. Since these parts are right
hand and left hand parts, depending on the side of the car (direction
of wheel rotation) they are intended for. We had to thread both versions
in Right Hand and Left Hand Threading Processes.
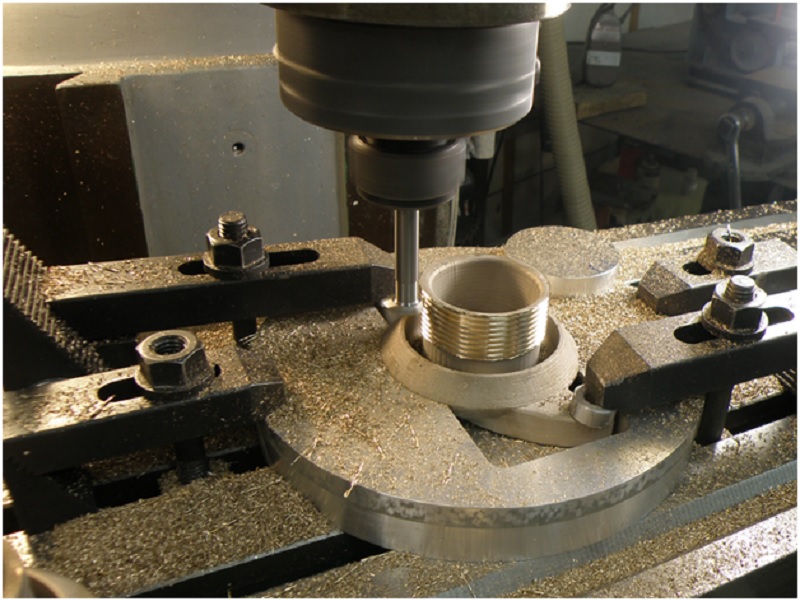
This Aluminum Fixture accurately locates
and securely holds our part. Cutting threads on the originals was probably been done on a Lathe, using the “Single Point” method of creating threads. We opted to do the process on a CNC milling Machine, using the “Thread Milling” Cycle (Interpolated Helix) and a specialty 60 degree thread cutting tool. This process allowed us to remove material in controlled increments until we obtained exactly the right fit between the knockoff and the original Dayton Drive #10 Dental Hub. Once we determined the settings that gave us exactly the thread depth that we wanted, we ran the rest of our batch of castings thru the Thread Milling process.
A nice batch of Knockoffs, fully functional.
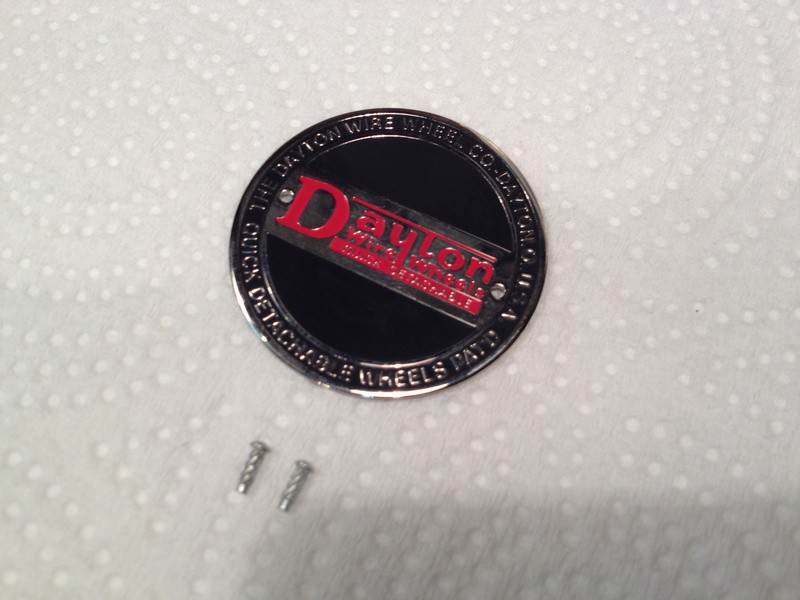
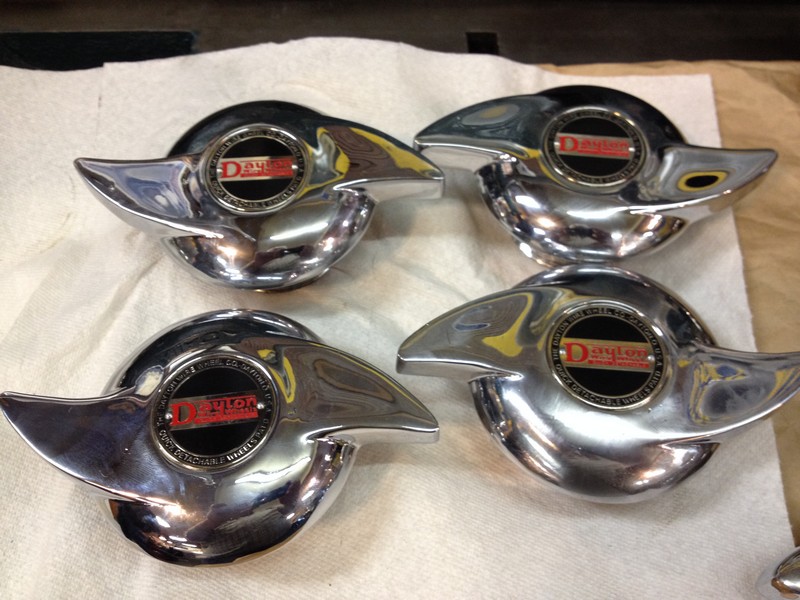
But we weren’t done yet! Some of these parts were sent out for professional polishing, and others were treated to polish and chrome plating and a few were nickel plated. The earliest versions of the original parts from the 1920’s included an enameled ID tag riveted to the front. Amazingly we were able to source a few NOS tags from a fellow in California and with those round tags riveted in place on the front, the polished and plated pieces look great. We machined a pocket to receive that timing tags, and drilled holes to allow us to use the cute little drive pins to attach them.
Dayton Tag and the Drive Pins used for attaching the tag. I doubt that these parts will ever feel the power of all out competition like the pieces from the 1920’s. It seems that racing on fairgrounds and dirt tracks across the country is just a dim memory. These excellent reproductions weigh the same as the originals and they fit and function like the original designers planned. This process is suitable for recreating a variety of parts that restorers and builders might need.
A set of 4 Knockoffs ready to install. These
parts fit and function like just like the originals. |