Parts in your Mailbox
By
Hugh Coltharp and Daniel Wright
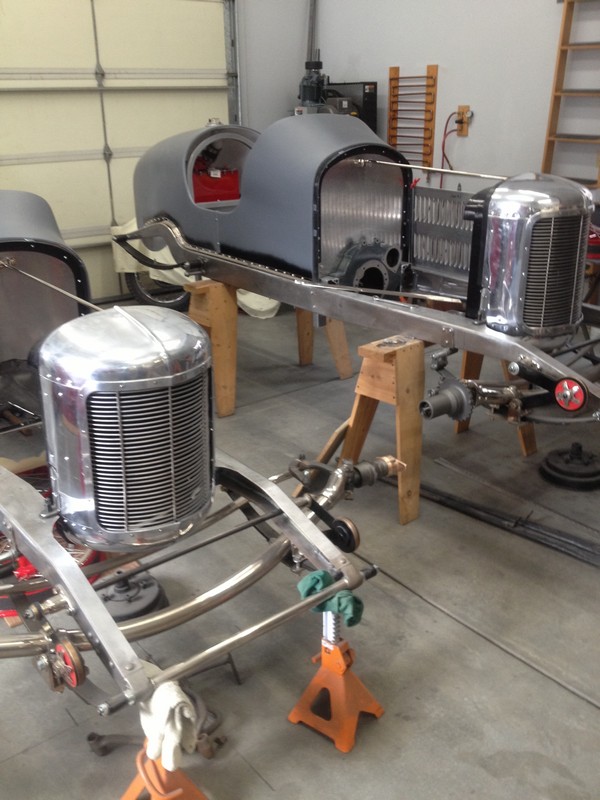
In this exercise about the only tool we used was the computer. I have come to think of the computer as simply a versitile hammer. Here is a step by step diesription of how we used that "Hammer" to forge a very nice Miller Grill Badge. This part was needed to help finish up the Miller "four spring" cars being reproduced by hugh coltharp and Jim Beck in Salt Lake City. You might recognize this car from our build of the Dayton Dental Drive Knockoffs article.
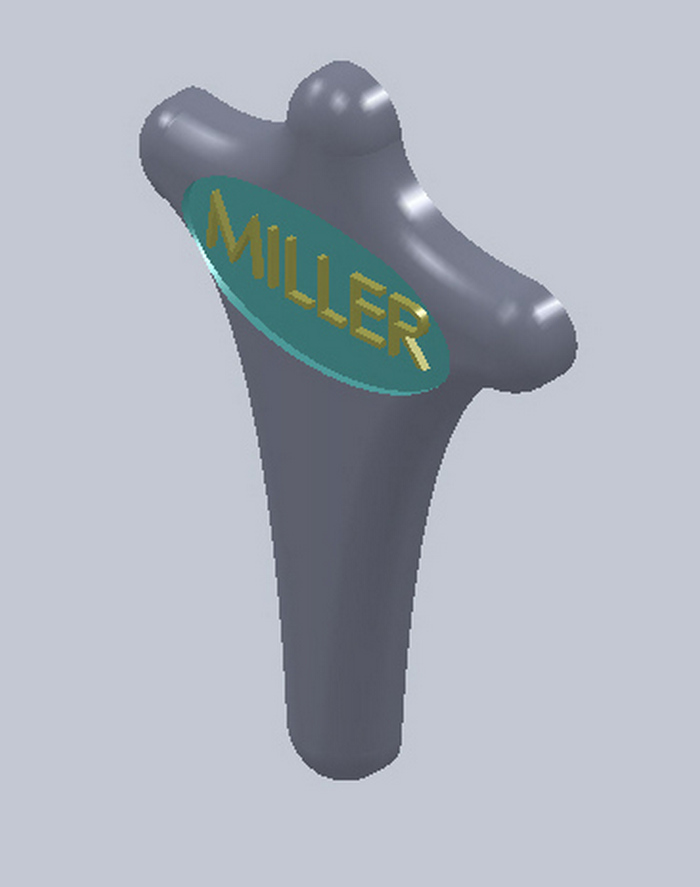
We gathered some general dimensions and a photo or two of the real badge we wanted to recreate. That data was used in SolidWorks CAD to produce a 3-D model of what we wanted. After a couple of design discussions and a bit of digital revision, we had a 3-D solid computer model of our piece.
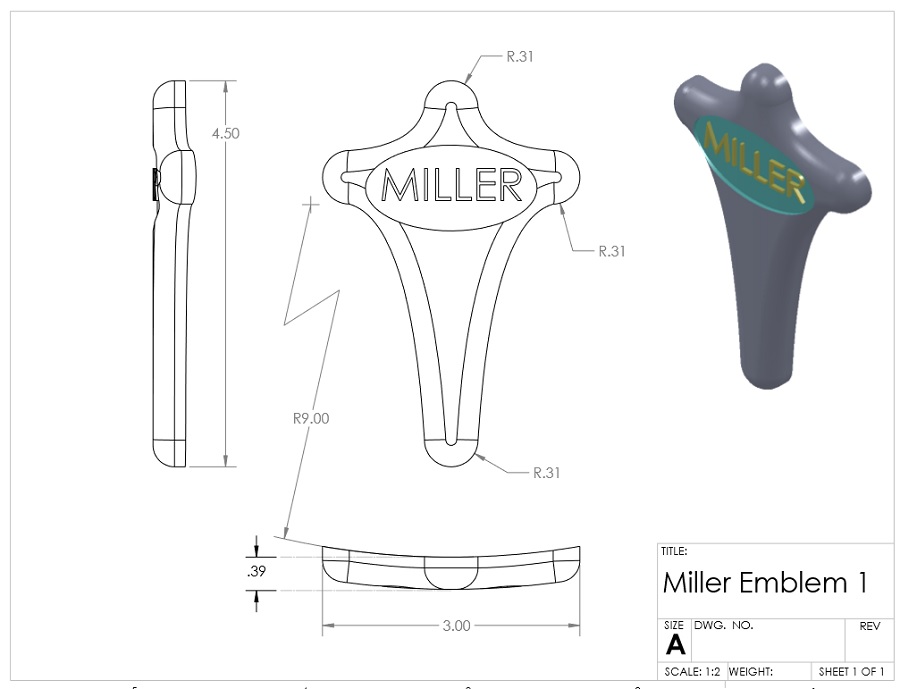
We used a 2-D drawing to verify our dimensions.
I then uploaded that CAD file (now in .STL file format) to an online printing service I like- www.shapeways.com
To check our design, we had them print our piece in in expensive plastic. That plastic piece led us to a couple more revisions--we added screw bosses se we could fasten it easily and securely, and ew notched our desigfn to fit over the verticle ccenter grill bar.
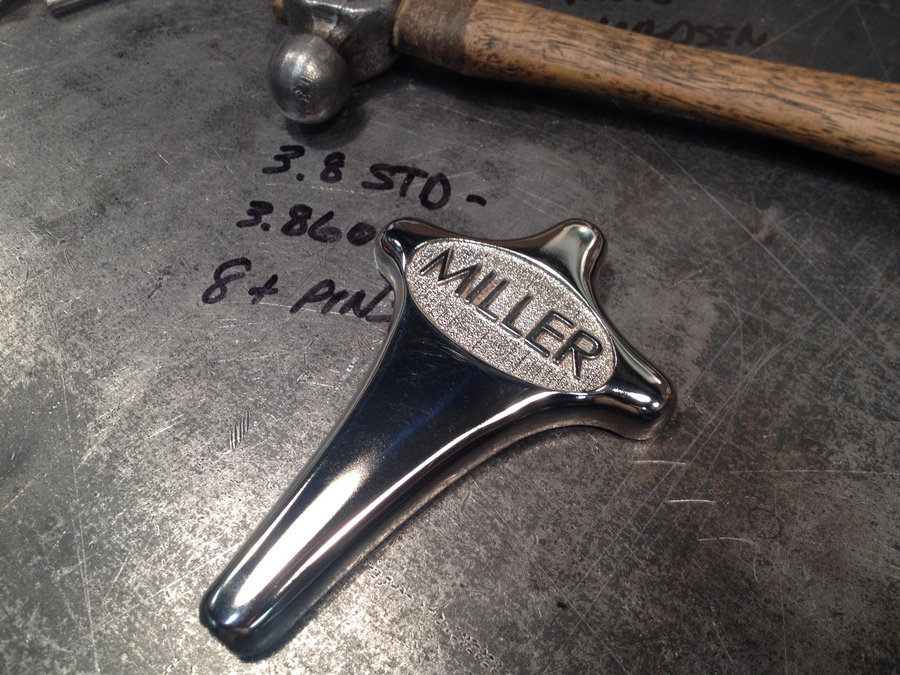
We then uploaded the final design file and had shapeways print 3 pieces in their "Stainless Steel" material. These are the parts we received.
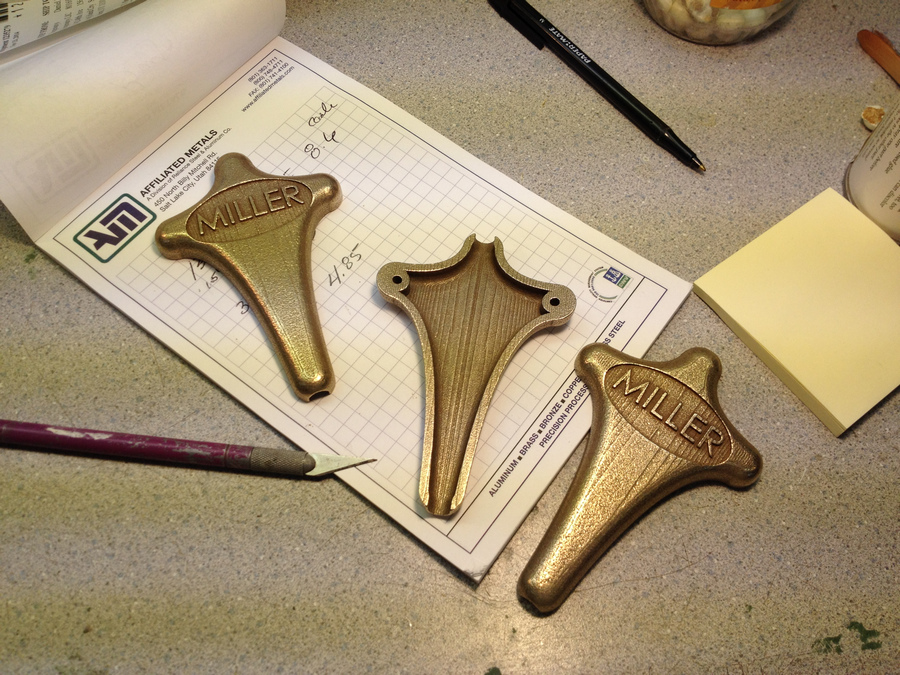
You can see that the 3-D printed metal parts have a slightly "Faceted" finish to them, typical of 3-D printing processes. We then sent the parts to our local Chrome Plating service for Polishing and Tripple chrome Plating. They came back looking pretty sweet.
All that was left was to fill in the recessed oval around the Miller Text with a bit of enamel paint.
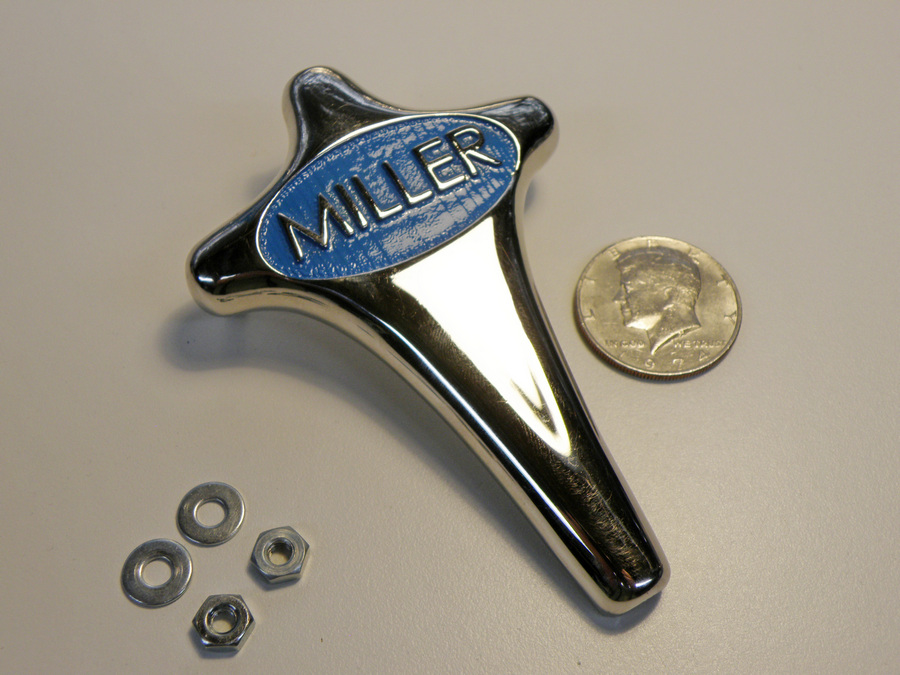
There you have it. Brand new Miller emblems that look as if they just stepped out of the 1920's. The cost?? less than $100 each, including the price of our plastic test piece.